Creating a console table is a rewarding woodworking project that combines functionality with aesthetic appeal. A console table, typically placed against a wall in an entryway or living room, provides a surface for decorative items and a storage area for everyday essentials. This guide will take you through the entire process, from design to finishing, covering the essential steps and offering tips to ensure your console table is both sturdy and stylish.
Planning and Design
Before starting any woodworking project, careful planning is essential. Begin by determining the size, style, and function of your console table.
1.1 Determine the Purpose and Location
- Location: Decide where the table will be placed. This will influence the size and style of the table.
- Functionality: Consider the purpose of the table. Will it be purely decorative, or will it need to provide storage? If storage is a priority, consider adding shelves or drawers.
1.2 Choose a Style
- Traditional: Features turned legs and decorative details.
- Modern: Clean lines with minimalistic design.
- Rustic: Often made from reclaimed wood with a rough finish.
- Industrial: Combines wood with metal, often with a utilitarian feel.
1.3 Create a Sketch or Blueprint
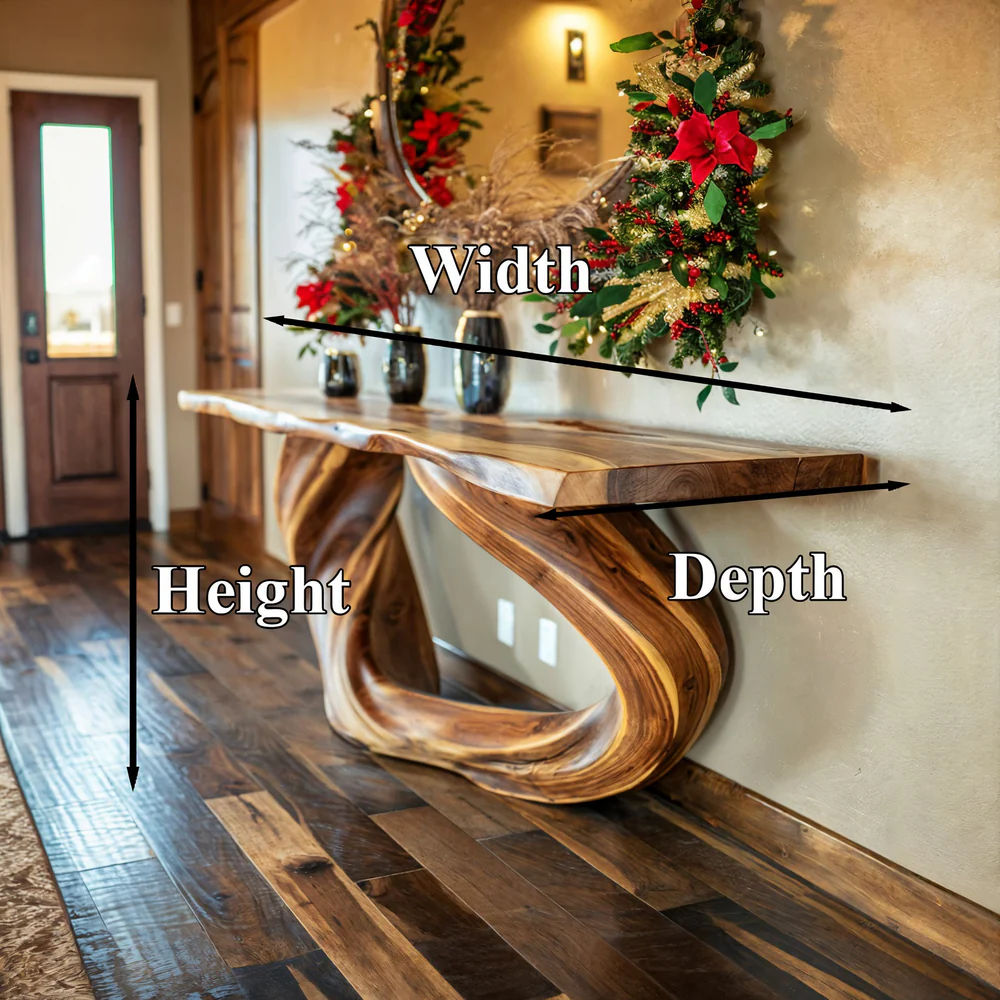
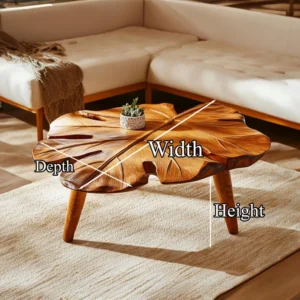
- Dimensions: Determine the height, width, and depth of the table. Console tables are typically about 30 inches high, 12-18 inches deep, and can vary in length depending on the space.
- Materials: Decide on the type of wood (e.g., oak, pine, walnut) and any other materials like metal or glass.
- Details: Consider any additional elements like drawers, shelves, or decorative trim.
Gathering Materials and Tools
Once you have a solid plan, gather all the necessary materials and tools.
2.1 Materials
- Wood: Choose the type and quantity of wood based on your design. Common choices include hardwoods like oak or cherry for a durable and attractive finish.
- Hardware: You may need screws, nails, drawer slides, and knobs or handles for drawers.
- Finish: Sandpaper, wood stain or paint, and a protective finish like polyurethane.
2.2 Tools
- Cutting Tools: Circular saw, miter saw, or table saw for cutting wood to size.
- Joining Tools: Drill, pocket hole jig, clamps, wood glue, and screws for assembling the table.
- Finishing Tools: Sanding tools (orbital sander or sanding blocks), paintbrushes, or rags for applying finish.
Cutting and Preparing the Wood
With materials and tools at hand, it’s time to cut the wood pieces according to your design.
3.1 Measure and Mark
- Use a measuring tape and a straightedge to mark the wood according to your blueprint. Precision is key here to ensure all pieces fit together perfectly.
3.2 Cut the Wood
- Legs: Cut the legs to the desired height. A miter saw can be very helpful for making accurate cuts.
- Top and Apron: Cut the tabletop and apron pieces. The apron supports the tabletop and is attached to the legs.
- Shelves and Drawers: If your design includes shelves or drawers, cut those pieces now.
3.3 Sand the Pieces
- Before assembly, sand all the wood pieces to smooth out any rough edges and prepare the surface for finishing. Start with coarse-grit sandpaper and work your way to finer grits for a smooth finish.
Assembling the Table
With all pieces prepared, you can begin assembling your console table.
4.1 Assemble the Legs and Apron
- Legs: Attach the legs to the apron pieces using wood glue and screws. Ensure the legs are square and aligned properly. Clamps can help hold the pieces in place as the glue dries.
- Apron: The apron should be flush with the top of the legs, creating a sturdy frame that will support the tabletop.
4.2 Attach the Tabletop
- Once the base is assembled, attach the tabletop. Apply wood glue to the top of the apron and place the tabletop in position. Secure it with screws from underneath to avoid visible fasteners on the top surface.
4.3 Install Shelves and Drawers
- Shelves: If your design includes shelves, install them by attaching them to the legs or inside the frame. Ensure they are level and secure.
- Drawers: If adding drawers, assemble them separately and then slide them into the table. Install drawer slides if your design includes them, and ensure the drawers operate smoothly.
Finishing the Table
The final step in building your console table is applying the finish, which not only enhances the appearance but also protects the wood.
5.1 Sand the Assembled Table
- Once the table is fully assembled, give it a final sanding. This step is crucial for achieving a smooth, professional finish. Pay special attention to corners and edges.
5.2 Apply Stain or Paint
- Staining: If you choose to stain the wood, apply it with a brush or cloth, working in the direction of the grain. Wipe off excess stain with a clean cloth. Allow the stain to dry completely before proceeding.
- Painting: If you prefer a painted finish, apply a primer first, then follow with the paint. Multiple thin coats will give the best result.
5.3 Apply a Protective Finish
- Once the stain or paint is dry, apply a protective finish like polyurethane or varnish. This will protect the table from scratches and spills. Apply multiple coats, sanding lightly between each for a smooth finish.

Adding Final Touches
After the finish has dried, add any final touches to complete your console table.
6.1 Attach Hardware
- If your table includes drawers, install the handles or knobs at this stage. Make sure they are centered and securely attached.
6.2 Check for Stability
- Place the table on a flat surface and check for any wobbling. If necessary, adjust the legs or add small pads to the bottom to ensure the table is stable.
6.3 Clean and Polish
- Give the table a final clean and polish to remove any dust or fingerprints from the finishing process. A soft cloth and a bit of furniture polish will leave your table looking pristine.
Conclusion
Building a console table is a project that combines both creativity and craftsmanship. From the initial design phase to the final polish, each step is an opportunity to create a piece of furniture that is both functional and a reflection of your personal style.
Taking the time to plan carefully, select quality materials, and work meticulously will result in a console table that not only meets your needs but also enhances the aesthetic of your home. Whether you choose a simple, modern design or a more intricate, traditional style, the satisfaction of creating a beautiful piece of furniture with your own hands is unmatched.
As you become more comfortable with woodworking, you can experiment with different designs, materials, and finishes to create custom pieces that suit your space perfectly. The skills and techniques you develop in this project can be applied to future projects, making each new creation a bit easier and more enjoyable.
In the end, the console table you build will not only serve as a functional piece of furniture but also as a testament to your skills and creativity, a true centerpiece in your home.
-
Sale!
Handcrafted Round End Table Solid/Rustic Wood End Table for Living Room Bedroom ET01
$550 – $1,250 -
Sale!
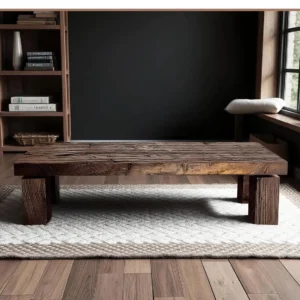
Rustic Wood Coffee Table Old Style Home Decor Natural Live Edge Solid Wood Table CF06
$850 – $1,350 -
Sale!
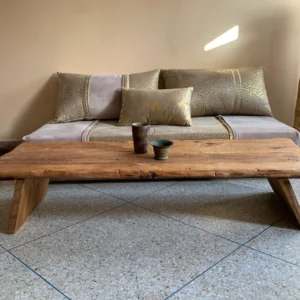
Solid Wood Low Coffee Table Tea & Coffee Table Live Edge Table Vintage Farmhouse Furniture CF05
$850 – $1,350 -
Sale!
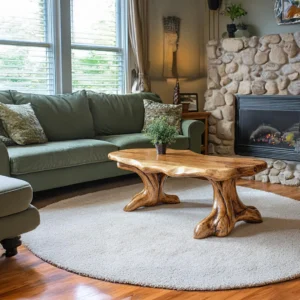
Handmade Coffee Table Modern Driftwood Coffee Table for Living Room Decor CF04
$850 – $1,350 -
Sale!

Solid Wood Coffee table Modern Coffee Table for Living Room Home Decor CF03
$850 – $2,150 -
Sale!
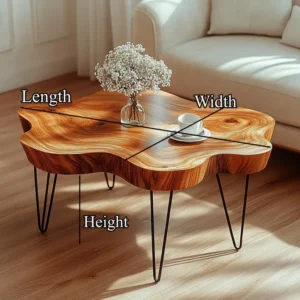
Rustic Wood Coffee Table Unique Coffee Table for Living Room CF02
$850 – $2,150 -
Sale!
Handcrafted Rustic Wood Coffee Table Modern Solid Wood Coffee Table for Living Room Table CF01
$850 – $2,150 -
Sale!

Rustic Wood Floating Shelf Custom Floating Shelf Housewarming Gift P21
$80 – $335
